Goal of this exercise is to put our previously developed python function behind a REST API.
Tools/prerequisites we are going to use: Visual Studio Code, NPM, python 3, AWS account, AWS credentials configured locally.
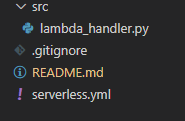
GitRepo is available here.
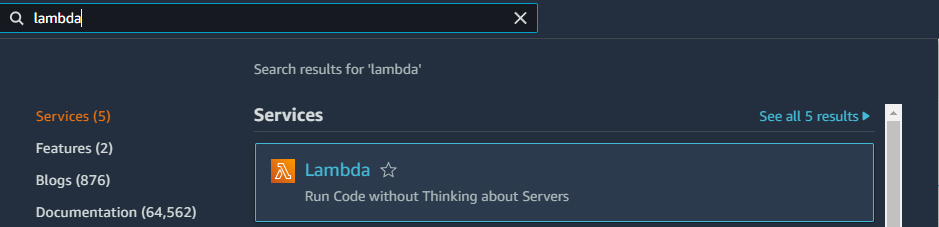
Api Gateways are important infrastructure elements, as a simple Lambda function is only available from inside AWS ecosystem. REST Api is a common, easy to implement standard to share resource.
To make our Lambda function publicly available we are going to update our previous code base with two things: tell the serverless to create the Api Gateway for our stack and upgrade the response of our utc-time-teller.
Let’s start with the python code changes. As we are going to communicate on HTTP channel JSON is a good model structure to respond with. Edit our handler’s code as following:
import datetime
import json
def handler(event, context) -> str:
dt = datetime.datetime.now(datetime.timezone.utc)
utc_time = dt.replace(tzinfo=datetime.timezone.utc)
return {
"statusCode": 200,
"headers": {
"Content-Type": "application/json"
},
"body": json.dumps({
"utc ": str(utc_time)
})
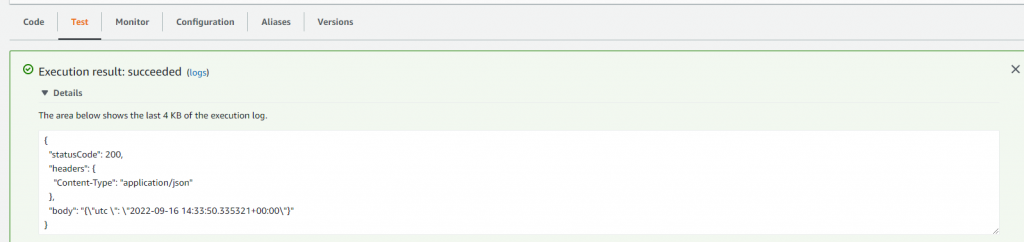
}We are returning a default HTTP response with statusCode of 200 (everything is OK), telling the receiver that the message is in JSON format (“Content-Type”: “application/json”) and of course adding the body itself.
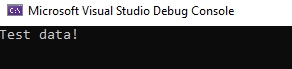
The Lambda is still testable using the previously shown method:
We can continue with the serverless.yml:
Add these few lines to the end of our function:
    events:
      - http:
          path: /{proxy+}
          method: any
      - http:
          path: /
          method: any
This will generate the API Gateway on AWS. The whole serverless.yml looks like this:
service: BlogDavidPythonLambdaDeploy
provider:
name: aws
region: eu-west-1
functions:
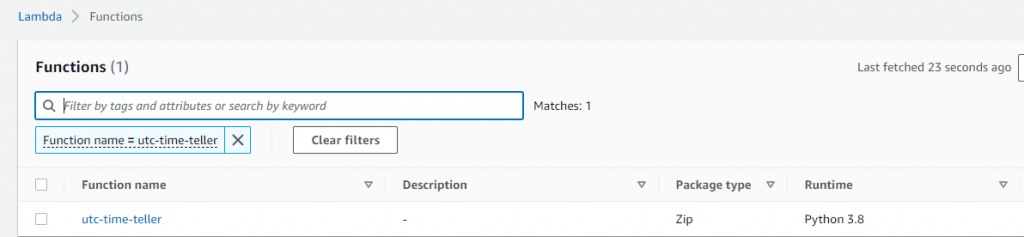
utc-time-teller:
name: utc-time-teller
handler: src/lambda_handler.handler
memorySize: 128
timeout: 30
runtime: python3.8
events:
- http:
path: /{proxy+}
method: any
- http:
path: /
method: anyNow call our deployment script from a command line tool:
serverless deployServerless CLI should add new lines to the logs under the category “endpoints”. Copy the one without {proxy+} ending to the browser and enjoy our newly created API gateway response: