We got a hazardous deployment on Azure: in every 4-5th release the pipeline timed out after 60 minutes of waiting for Azure. First we suspected Azure services, as the script was hanging on their API call, but there was no outage report. Tried to investigate other deployments when this one failed, but every other worked just fine. Searching Microsoft’s wiki gave the answer:
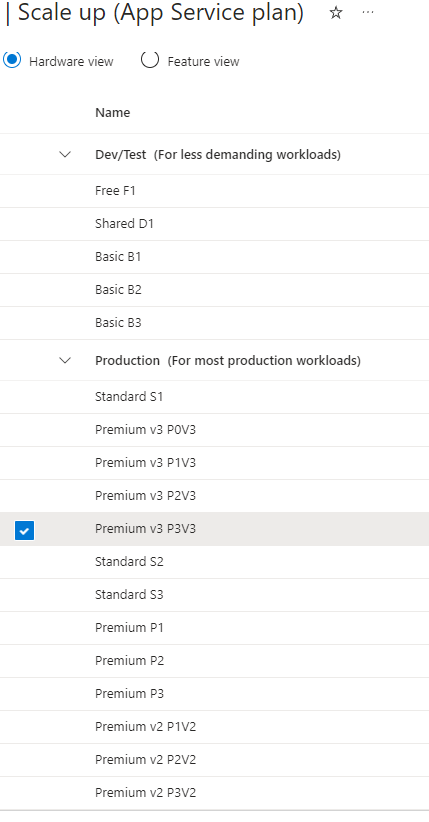
One of our App Services run out of memory couple of times so we decided to upgrade them to a higher tier, P3mv3 was our target. We checked the availability on Azure, everything seemed to be OK, but the tier wasn’t listed under “Scale up” blade of the App Service Plan:
We rechecked the VM’s availability using CLI, it gave the same result: the tier should be shown.
Decided to give a try to the Azure CLI and upgrade through it, but no luck:
Finally we contacted Azure support to help us out, but their answer wasn’t promising: our Resource Group is too old and doesn’t support the needed VM. Meaning we had to recreate our Resource Group to be able to use higher tier App Services.
With the new Resource Group we were able to scale out.
Let’s say you want to upgrade your App Service Plan to a higher tier but first you want to check which regions support the given VM size. You can click through the Azure website for that information or you can use the Azure CLI.
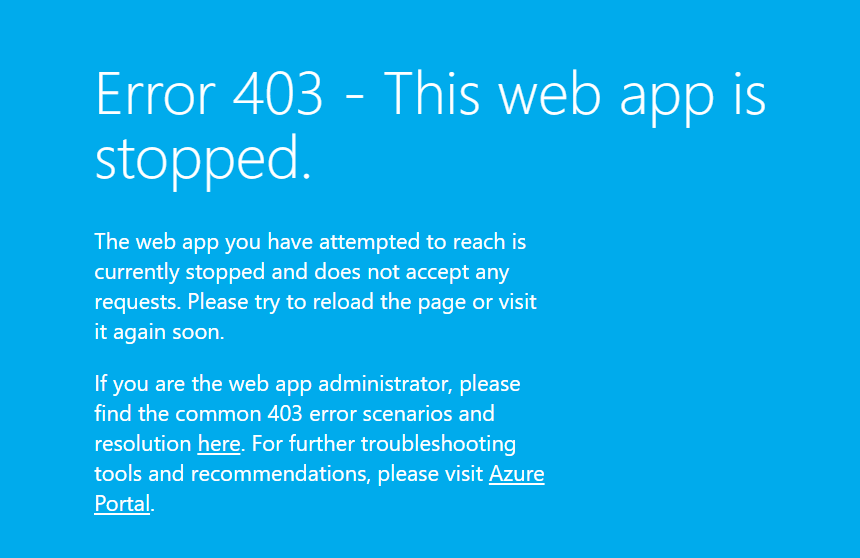
Encountered a mysterious issue these days: stopped the App Service on Azure, but the application was still logging, like nothing happened. Waiting couple of minutes, then half an hour, but logs were still coming.
Checked the generated url and the site responded as it should:
Turned out, that the App Service was hosting WebJobs, not a classic web app and the default “Stop” doesn’t apply to them. To turn off WebJobs, one need to navigate to WebJobs blade of the App Service.
AWS S3 is a versatile product, used for many different purposes from logs to big data storages. It’s basic operations are easy to implement using the AWS SDK.
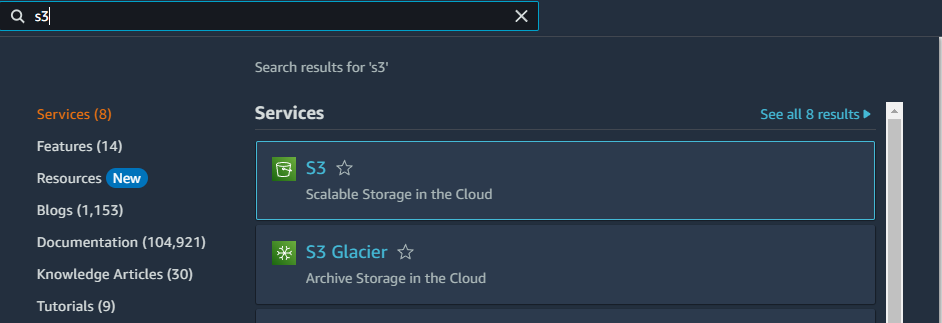
For the first step we need to create an S3 bucket which will hold our files. Go to AWS console, search for S3 product in the search bar:
Search for S3 in the AWS search bar
Click on Create bucket button:
Create bucket button
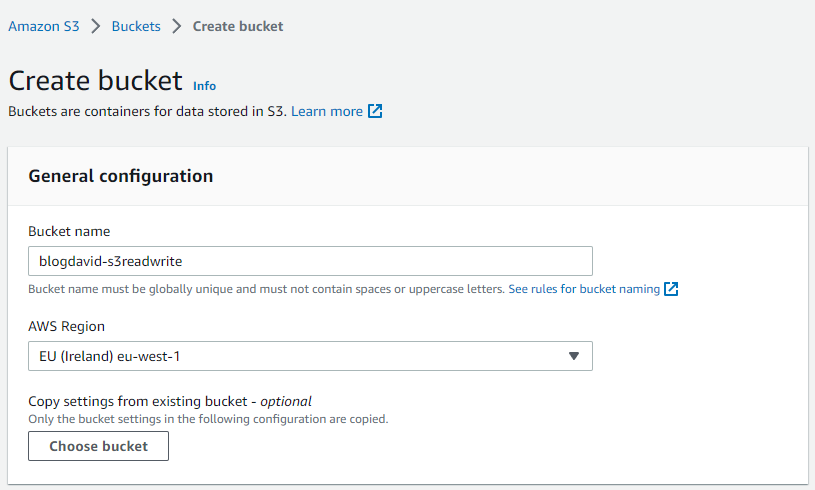
Choose a name and region, then hit Create bucket at the bottom of the page:
Creating the bucket
Now we are all set on the AWS console, we are going to use it later on for testing.
We can get back to our code editor and add AWSSDK.S3 to our project, which has bunch of S3 related codes to help us out. Let’s write some code:
using Amazon.S3;
using Amazon.S3.Model;
using System.Text;

namespace BlogDavid_S3ReadWrite
{
    internal class Program
    {
        // Note: Running the program will use the local machine's credentials!

        // Store the bucket's name somewhere
        const string s3BucketName = "blogdavid-s3readwrite";
        // Set the client to our bucket's region
        static IAmazonS3 s3Client = new AmazonS3Client(Amazon.RegionEndpoint.EUWest1);

        static async Task Main(string[] args)
        {
            // Generating a random path for our text file
            string randomizedPath = $"{Guid.NewGuid()}/{Guid.NewGuid()}/{Guid.NewGuid()}.txt";

            // Adding some text to save
            string textToSave = $"I am a text generated at {DateTime.UtcNow}";

            // Converting the text into bytes
            byte[] textAsBytes = Encoding.UTF8.GetBytes(textToSave);

            using (MemoryStream ms = new MemoryStream(textAsBytes))
            {
                // Rewinding the stream
                ms.Position = 0;

                PutObjectRequest putRequest = new PutObjectRequest
                {
                    // Name of the bucket
                    BucketName = s3BucketName,
                    // Key as the path under the bucket
                    Key = randomizedPath,
                    // Data we are saving
                    InputStream = ms,
                };

                await s3Client.PutObjectAsync(putRequest);
            }

            // Let's read back the previous file

            // Construction the request object
            GetObjectRequest getRequest = new GetObjectRequest
            {
                BucketName = s3BucketName,
                Key = randomizedPath
            };

            // Sening the request
            using (var getResponse = await s3Client.GetObjectAsync(getRequest))
            using (var sr = new StreamReader(getResponse.ResponseStream))
            {
                // Reading back the response
                var getResponseString = await sr.ReadToEndAsync();
                // Showing the response, which is hopefully the text we just saved
                Console.WriteLine(getResponseString);
            }

            Console.ReadKey();
        }
    }
}
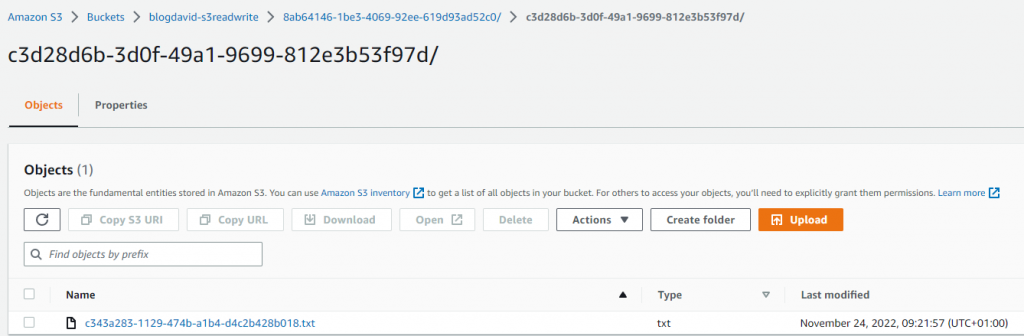
Starting our app, it should write and read a file on S3:
When deploying serverless Lambda it will create a bucket with the code and CloudFormation template. It is totally fine, but the newly created bucket will be associated with the stack and will prevent us from purging the whole stack.
When do we want to delete a stack?
During development there could be many reasons to completely remove one, few ideas:
our Lambda’s type changed, thus it cannot be just updated
we had to experiment with roles and want to test them after clean serverless installation
none of the resources are required anymore
According to the default AWS policy an S3 bucket cannot be deleted if it is not empty, which exactly is preventing us from purging the stack.
What can one do?
It is really straightforward: create a bucket for serverless deployment. If we manually add a new S3 bucket and point our serverless installer to that, it won’t be interfering with our stack.
When the bucket is there we can add these two lines under provider to our serverless to make it use that for deployment:
  deploymentBucket:
    name: serverless-dep-bucket-dev
Updating the utc-time-teller’s serverless it looks like this:
Api Gateways are important infrastructure elements, as a simple Lambda function is only available from inside AWS ecosystem. REST Api is a common, easy to implement standard to share resource.
To make our Lambda function publicly available we are going to update our previous code base with two things: tell the serverless to create the Api Gateway for our stack and upgrade the response of our utc-time-teller.
Let’s start with the python code changes. As we are going to communicate on HTTP channel JSON is a good model structure to respond with. Edit our handler’s code as following:
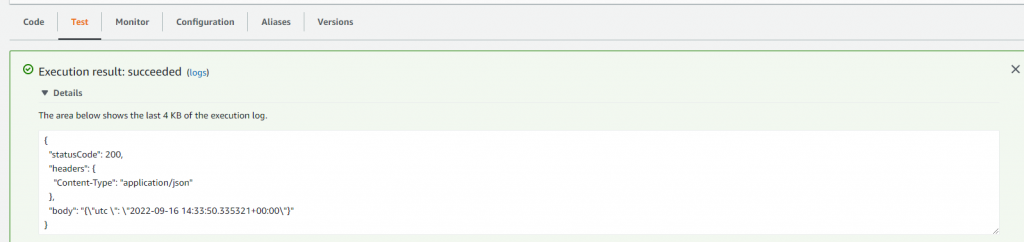
We are returning a default HTTP response with statusCode of 200 (everything is OK), telling the receiver that the message is in JSON format (“Content-Type”: “application/json”) and of course adding the body itself.
The Lambda is still testable using the previously shown method:
We can continue with the serverless.yml:
Add these few lines to the end of our function:
    events:
      - http:
          path: /{proxy+}
          method: any
      - http:
          path: /
          method: any
This will generate the API Gateway on AWS. The whole serverless.yml looks like this:
Now call our deployment script from a command line tool:
serverless deploy
Serverless CLI should add new lines to the logs under the category “endpoints”. Copy the one without {proxy+} ending to the browser and enjoy our newly created API gateway response:
We can easily rotate between them using the following command:
setx AWS_PROFILE profil1
To see which profile is currently selected use this code:
aws configure list
Note: As the above logic uses environment variable to save and read the currently selected profile, we need to restart applications to the update take effect.
Serverless is a great tool to have the production code and required cloud computing configuration next to each other. To install serverless, use the following command in your favorite shell:
Note: you will need “npm” installed
npm install serverless -g
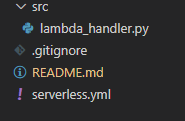
Create your folder structure for the project: we are going to need one python file, which will be the host of called function and add a file called serverless.yml, for configuration.
It is a pretty simple code, which will return the UTC time formatted to string. Which we need to note is the two parameters of our function: event and context, both of them will be added by AWS. As in this exercise we don’t care about input parameters, just add them to our function.
service: is the name of the group. provider: configuration of cloud computing platform. name: which cloud computing platform we are using. region: AWS’ regions are available here. functions: in the use case of AWS, functions are the Lambdas. “utc-time-teller”: the identifier of our Lambda. name: how the function will be named on AWS. handler: path to our function in the form: path/file.functionName memorySize: how large lambda we are planning to use. Measured in MB-s. Further details and prices can be found here. timeout: maximum processing time, measured in seconds. runtime: container type definition with the needed prerequisites like installed python3.8. Further AWS runtimes can be found here.
If we are done with our files, open up a command line tool and call this command:
serverless deploy
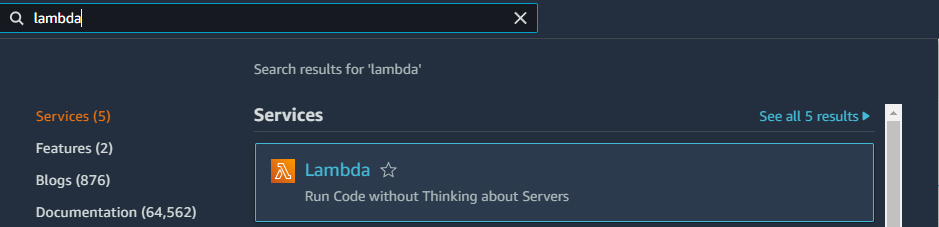
Serverless will pack our code and create the stack on AWS. After it finishes, go to AWS Console and in the search bar look for “lambda”:
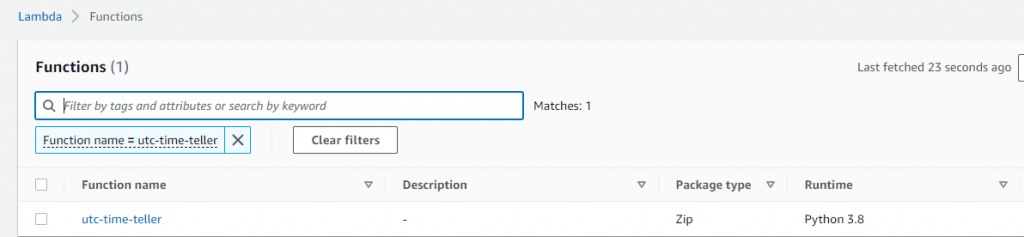
Search for the name of our lambda “utc-time-teller”:
Click on it and navigate to the “Test” tab, then hit the “Test” button:
If everything went alright, we can see the result of our Lambda: